The Best Fluffy Pancakes recipe you will fall in love with. Full of tips and tricks to help you make the best pancakes.
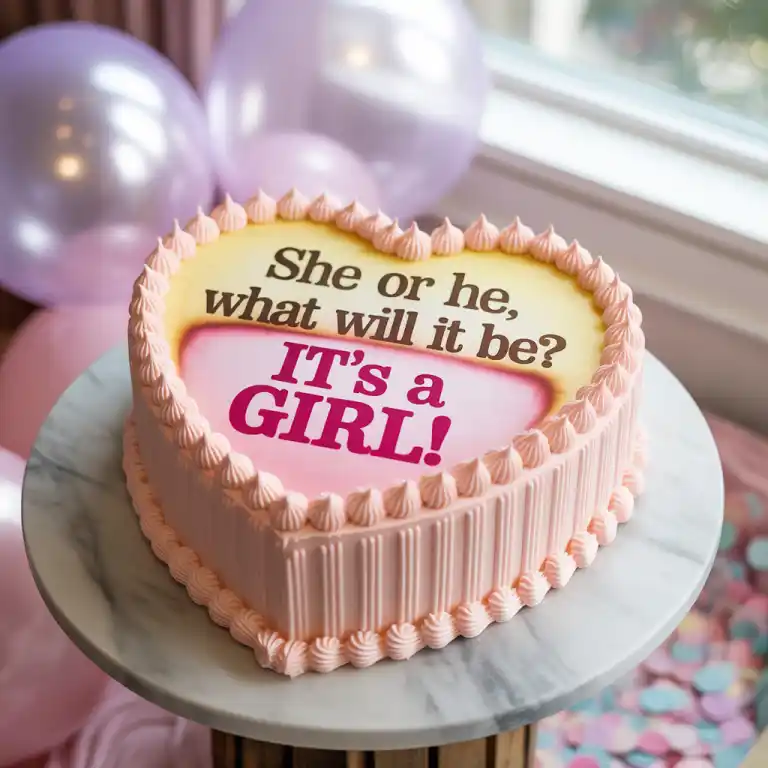
Curious cakes have always called to me—those that hide something magical beneath a simple surface. That’s why the moment I heard about a “burn-away cake,” I knew I had to try it. This eye-catching dessert looks like any frosted cake from the outside, but once heat touches a printed frosting sheet on top, it melts away to reveal a surprise message or image underneath. The reveal is thrilling, especially for birthdays or gender reveals.
In this guide, I’ll walk you through exactly how to make a burn-away cake at home, from choosing the right frosting sheet to pulling off that melt-away effect with ease. Along the way, I’ll share a bit of my own experience baking this fun surprise cake—and yes, even the part where I panicked because I forgot to test the burner first.
Let’s dive into the story, the process, and the absolute joy of learning how to make a burn-away cake.
Table of Contents
Table of Contents
How to Make a Burn-Away Cake: Hidden Reveal You’ll Love
- Total Time: 1 hour
- Yield: 1 cake (serves 8) 1x
Description
This burn-away cake features a soft vanilla sponge and a hidden surprise message beneath a melting edible image top. Perfect for birthdays, reveals, or fun parties!
Ingredients
2 ½ cups all-purpose flour
2 ½ tsp baking powder
½ tsp salt
¾ cup unsalted butter, room temp
1 ¾ cups sugar
4 large eggs
1 tbsp vanilla extract
1 cup whole milk
1 edible frosting sheet (custom printed)
Fondant for top layer
Edible marker or gel for hidden message
Instructions
1. Preheat oven to 350°F and grease two 8-inch cake pans.
2. Whisk flour, baking powder, and salt in a bowl.
3. Cream butter and sugar until fluffy, then beat in eggs one at a time.
4. Add vanilla, then alternate adding flour mix and milk until combined.
5. Divide batter between pans and bake for 25–30 minutes.
6. Let cakes cool, then level them and stack with frosting.
7. Cover top with fondant and write your hidden message.
8. Carefully place edible image on top of fondant.
9. At serving, use gentle heat (e.g., warm spoon or lighter) to reveal the surprise.
Notes
Make sure to use only edible ink and high-quality frosting sheets.
Do not refrigerate once the image is applied to avoid condensation damage.
Let the cake sit out at room temperature before performing the reveal.
- Prep Time: 20 mins
- Cook Time: 30 mins
- Category: Dessert
- Method: Baking
- Cuisine: American
Nutrition
- Serving Size: 1 slice
- Calories: 350
- Sugar: 28g
- Sodium: 160mg
- Fat: 14g
- Saturated Fat: 8g
- Unsaturated Fat: 5g
- Trans Fat: 0g
- Carbohydrates: 49g
- Fiber: 1g
- Protein: 5g
- Cholesterol: 95mg
The Story & Intro to Burn-Away Cakes
A Cake with a Secret
The first time I made a burn-away cake, it was for my niece’s birthday. I wanted something more than balloons and sprinkles—something that would really wow her. I stumbled on the idea while scrolling through a late-night Pinterest rabbit hole, and instantly fell in love. “How to make a burn-away cake” became my new obsession.
I printed a frosting sheet with a picture of her favorite cartoon, placed it on a frosted cake, and underneath? A big, bold “Happy 7th Birthday!” in edible marker on white fondant. When we gently hovered a flame over the image, her face lit up like Christmas morning. That reaction alone made it all worth it.
Burn-away cakes use edible images printed on rice paper, wafer paper, or frosting sheets, placed over a base layer of frosting or fondant. The top image is gently heated—often with a lighter, culinary torch, or warm spoon—until it disappears, revealing the message or design beneath.
This cake isn’t just about sweetness—it’s about surprise, suspense, and that one unforgettable moment when the top melts away.
For home bakers like me, learning how to make a burn-away cake is a fun challenge. It’s simple in theory but thrilling in execution. You don’t need any fancy tools, just the right materials and a little patience. And you can keep it as simple or elaborate as you want.
I’ve since used the technique for everything from inside jokes to gender reveals, and it never gets old. If you’re ready to try your hand at this hidden-gem dessert, grab your apron. I’ll guide you step-by-step, right down to where to find edible image sheets that actually work. And if you’re looking for more surprise-filled desserts, check out this puff pastry dessert or the crowd-pleasing chocolate covered peanuts.
Tools & Ingredients You Need to Make a Burn-Away Cake
What You Need to Make a Burn Cake
One of the best things about learning how to make a burn-away cake is that you don’t need to be a pastry chef to pull it off. A few simple tools and the right edible materials are all it takes. Let’s walk through what goes into creating this eye-catching dessert.
Edible Frosting Sheets or Wafer Paper: These are the stars of the show. Edible image sheets come in two main types—frosting sheets (also called icing sheets) and wafer paper. Frosting sheets are thicker, more vibrant, and melt cleanly when exposed to heat. Wafer paper is thinner but can be a bit harder to burn away smoothly. Always make sure your image is printed with edible ink.
Base Frosting or Fondant Layer: Underneath the image, you’ll need a smooth base. I recommend fondant or buttercream. If you want to write a secret message, fondant is your best bet—it gives you a firm surface for edible markers or gel.
Heat Source: You don’t need a blowtorch! A warm spoon, candle lighter, or even a warm metal spatula will do the trick. You just want to gently melt away the edible image without burning the actual cake.
A Basic Cake Base: Any flavor works! Vanilla, chocolate, or something more unique like ube cake. Use whatever cake you love to bake—the technique works on all of them.
Optional Add-ins: Want to make it a showstopper? Add sprinkles inside the cake or include a hidden color reveal like I did for a 3-ingredient mug cake version for a quick party surprise.
Burn-away cakes aren’t about perfection—they’re about that magical reveal. Once you’ve gathered your materials, you’re ready to assemble and design the ultimate surprise dessert.
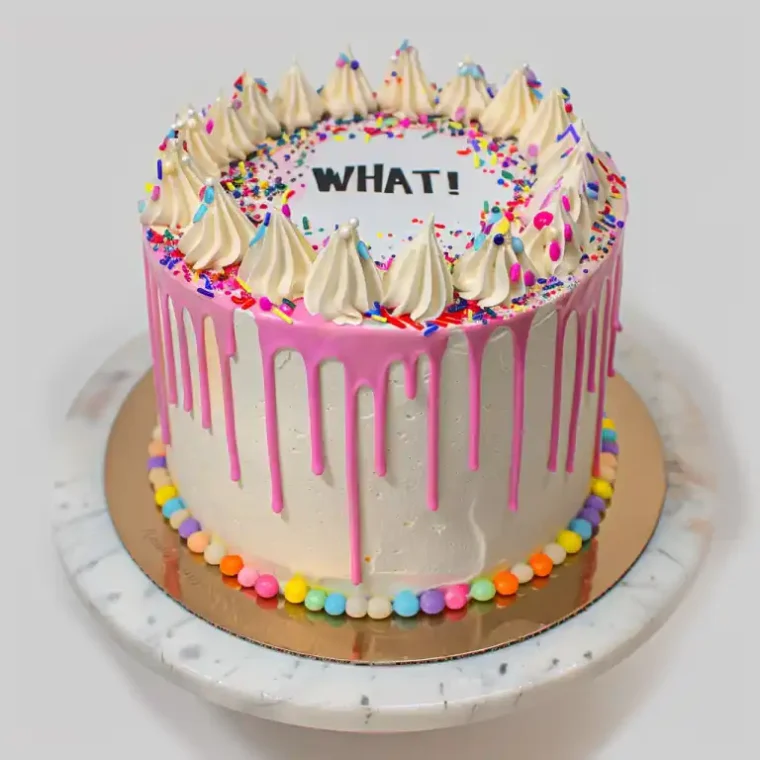
How to Make a Burn-Away Cake: Step-by-Step
Preparing the Base and Hidden Message
Start by baking your favorite cake recipe. It could be as easy as a classic vanilla or something more fun like a rich chocolate layer. Let the cake cool completely before frosting.
Now comes the secret part. Cover the top of the cake with fondant or smooth buttercream. If you’re adding a hidden message, fondant works best. Use edible markers or gel to write your surprise message or image. I once drew a treasure map on fondant for a pirate-themed party, and it was a hit!
Let the base dry slightly so your image sheet lays flat. If you’re nervous, test the design by laying a piece of parchment paper on top first to see the layout.
Applying and Burning the Top Image
Next, carefully place your edible frosting sheet or wafer paper image on top of the cake. Gently press it down using your hands or a fondant smoother. Avoid stretching or tearing—these sheets are delicate.
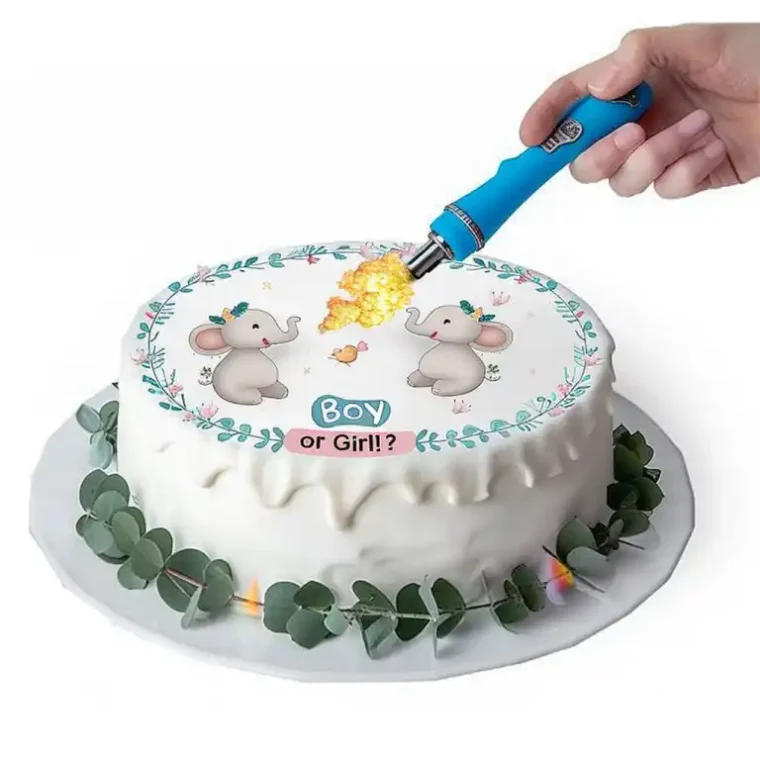
Now, for the reveal. When it’s time to serve, slowly bring a heat source over the image. A candle lighter or warm spoon works best. Glide it a few inches above the surface—don’t touch the cake itself.
Watch the magic unfold as the top image disappears, revealing your hidden message. It’s a show-stopping moment that never fails to get gasps and giggles.
Want a twist? Try layering your design under a frosting sheet printed with a cartoon or special photo, like I did for a custom birthday surprise. Or pair it with a decadent side like these chocolate balls or creamy chocolate budino for a full dessert table.
Keep the burn slow and steady—it’s better to reveal gradually than scorch it all at once. Trust me, I’ve learned that the hard way.
Burn-Away Cake Tips and Storage
Tips for Success and Common Mistakes
If it’s your first time learning how to make a burn-away cake, don’t stress—there’s room to experiment. Here are a few must-know tips from my kitchen:
1. Use High-Quality Frosting Sheets: Not all edible papers melt the same way. Stick with frosting sheets made for cakes—not rice paper or cheap imitations. They burn away smoothly and won’t ruin your reveal.
2. Keep Heat Gentle: Don’t use an open flame directly on the image. Use a lighter, warm spoon, or even a hairdryer on low. Keep it moving in small circles just above the surface to avoid scorching the fondant or buttercream underneath.
3. Time Your Reveal: Burn-away cakes are most magical when revealed at the table. Plan to burn the top image just before slicing. It’s all about that wow moment.
4. Test Your Materials First: Always try a small piece of the edible image first on a plate before placing it on your cake. It’ll help you understand how fast it melts and what tool works best.
Want more inspiration? Check out this fun churro cheesecake or creative Ghirardelli brownie mix guide for more kitchen surprises.
Can You Refrigerate a Burn-Away Cake?
Absolutely—but with care. If you refrigerate the cake, place parchment or wax paper between the image sheet and anything else to prevent condensation. When you remove it from the fridge, let it sit uncovered for at least 30 minutes before revealing to avoid smearing or sticking.
Burn-away cakes can also be frozen before the image is applied. Just add the top sheet after thawing for best results.
This treat is meant to be fun and unexpected. It doesn’t need to be bakery-perfect—just filled with joy, a touch of heat, and a whole lot of love.
Conclusion
So there you have it—how to make a burn-away cake from scratch. Whether you’re planning a birthday surprise or just want to try something new, this interactive dessert is sure to leave your guests talking. It’s easy, fun, and endlessly customizable. Just grab your favorite cake base, a bit of edible art, and get ready to wow everyone at your next gathering.
From one home baker to another—if I can do it, you absolutely can too.
Craving inspiration? Follow along on Facebook, Instagram, and Pinterest for more recipes.
Frequently Asked Questions About Burn-Away Cakes
What is a burn away cake?
A burn-away cake is a fun and interactive dessert where an edible image on top “burns” or melts away with gentle heat to reveal a hidden message or design underneath. It’s often used for celebrations like birthdays, proposals, or gender reveals.
What are the ingredients in a burn away cake?
Ingredients include a basic cake (any flavor), buttercream or fondant, edible image frosting sheets (or wafer paper), edible ink for printing, and optional edible markers or food coloring gel for hidden messages.
What do you need to make a burn cake?
You’ll need: a baked and cooled cake, a smooth frosting or fondant layer, a printed edible image, and a safe heat source (like a warm spoon, lighter, or culinary torch). Patience and a little creativity help too!
Can burnaway cakes be refrigerated?
Yes, but refrigerate with care. Use wax or parchment paper to protect the edible image and prevent condensation. Let it rest at room temperature for 30 minutes before burning the image away.




Wow interesting, I’ll gana try it soon.